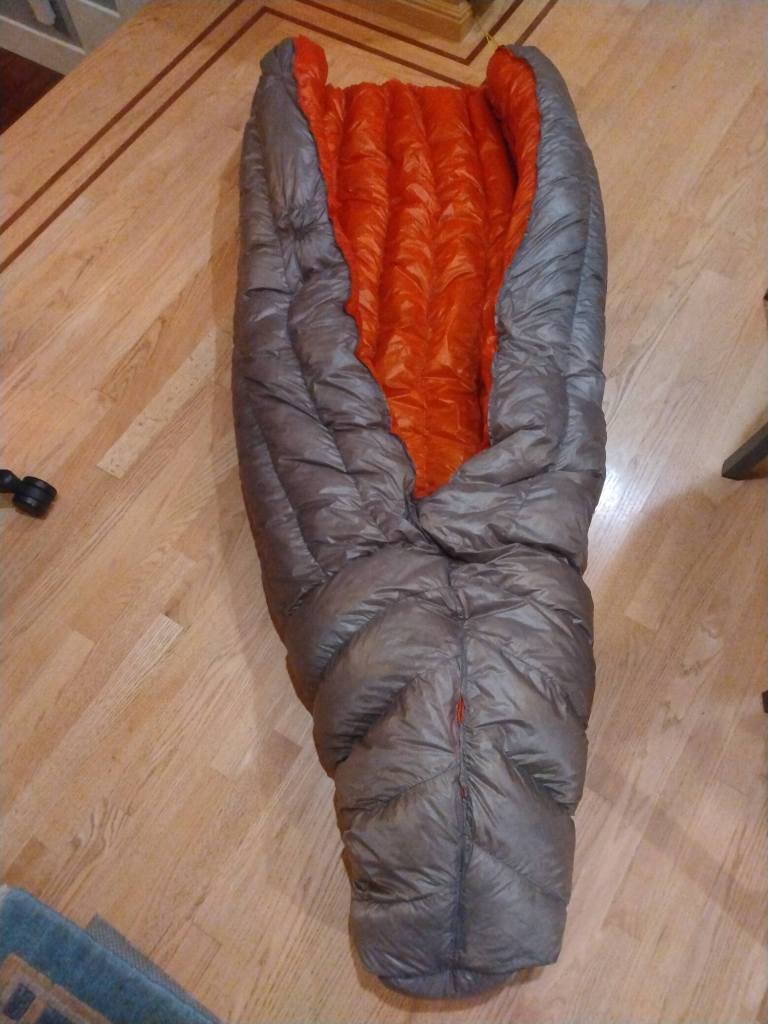
Finished up my first MYOG project: a quilt for the Continental Divide Trail. A few friends asked for my notes so I figured I’d put them here in case they can be of use to anyone else. I am a beginner sewer, so I may not be the best example to follow. I have linked to some other resources at the bottom.
Basic design
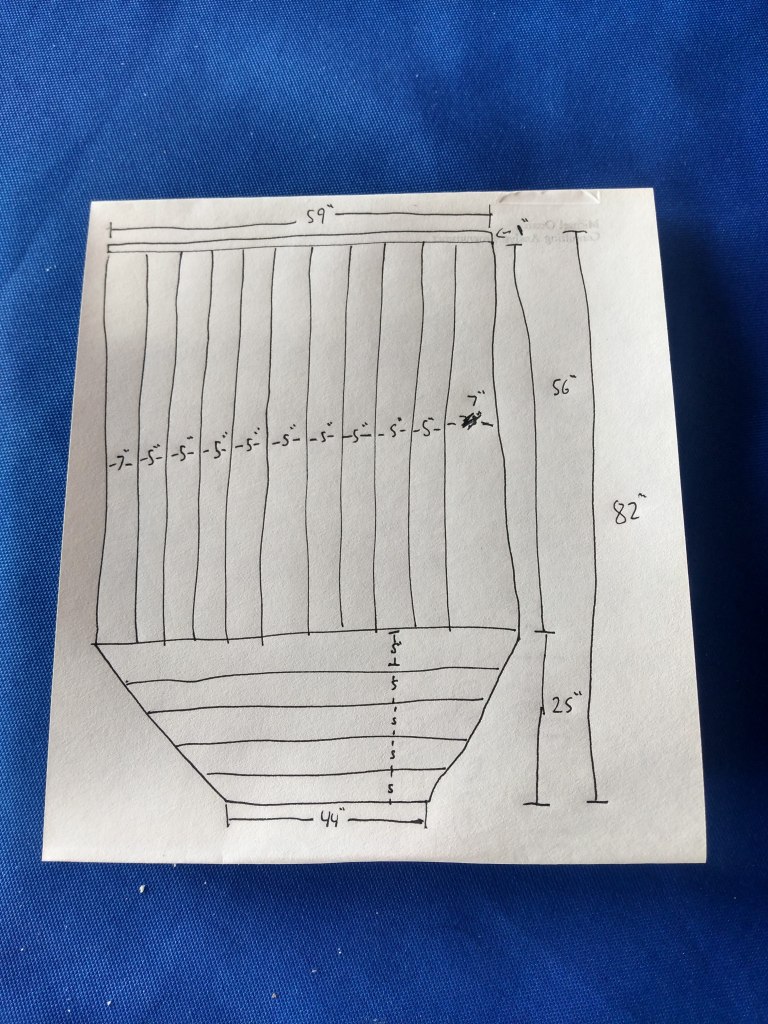
81” height, recommended to make it your height plus 8-9” 59” width, used full width of fabric 44” footbox 11 vertical baffles, 56” by 5”, side two baffles are bigger 5 horizontal foot baffles, 5″ long 1″ on top for cinch strap
Materials
70 ft or so of 3.5″ no see um baffles
3 yds of Argon 67 taffeta (Burnt Orange) for inside shell
3 yds of Argon 67 (Titanium Grey) for outside shell
1 lb of down WR 850fp goose down from downlinens
Some cord and stoppers
A sewing machine
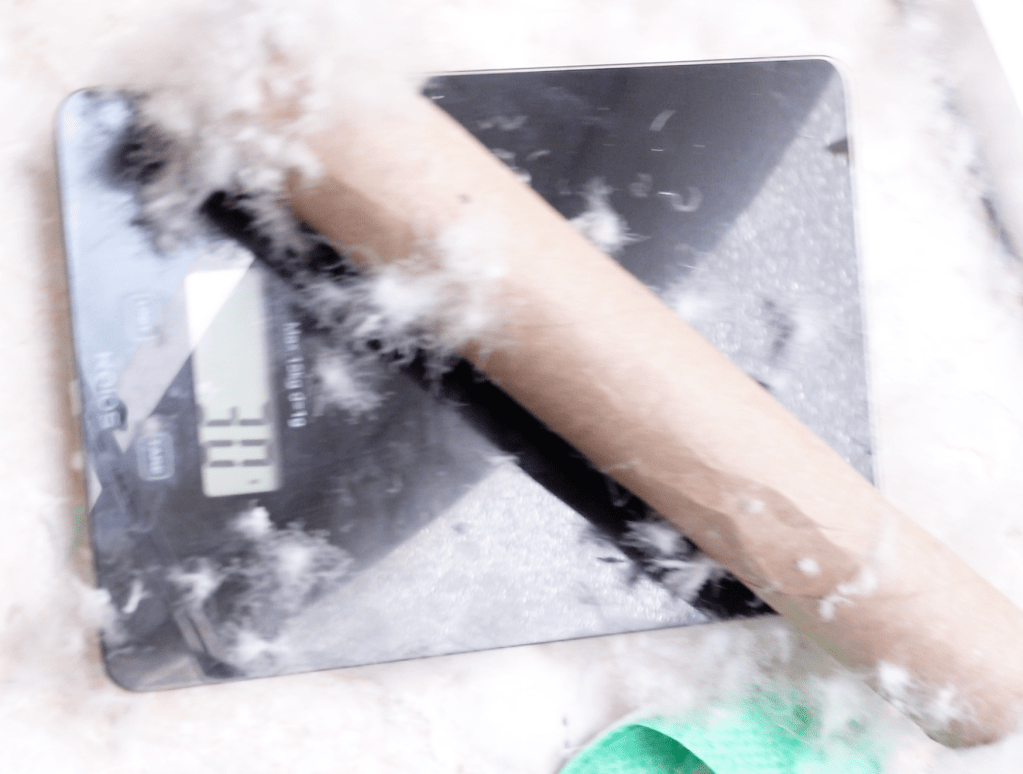
gram scale and paper towel roll
painters tape
Rough Steps
- Buy materials and find a sewing machine
- Mark, cut and hem front and back sheets
- Sew on baffles, sew most of quilt shut
- Fill down, sew quilt shut
- Cinch cord, foot box, triangle
Step 1: Buy materials and buy or borrow a sewing machine
I talked to Zach and John to get advice for materials. I ended up buying the Argon 67 fabric that John recommended and the down from downlinens that Zach recommended. I also looked at loosegoosedownsupply but they only had 1000fp down, which was out of my budget. The 850fp down seems plenty. My mom graciously let me use her sewing machine.
Down is definitely the biggest cost of making a quilt, so if you want to save money you could potentially use a cheaper fill power or consider synthetic insulation. Synthetic insulation is a bit heavier and less compressible, but it does have the advantage of being easier to make a quilt out of since you would not have to make baffles. Also, it is vegan!
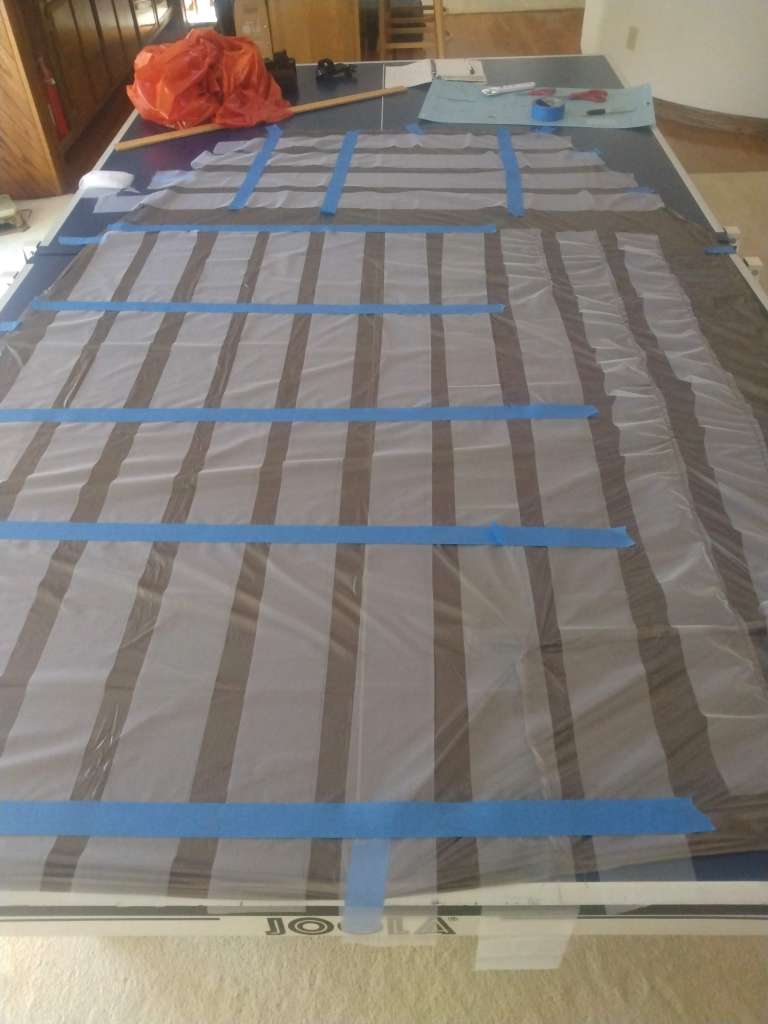
Step 2: Mark, cut and hem front and back sheets
For this step I laid out the sheets on my parent’s pingpong table. It definitely helped a large flat surface to work on. A hardwood floor or a concrete slab could also work. I marked out where all the baffles would go in sharpie on each sheet, which made sewing them on a lot easier. I cut and hemmed each sheet. There was a bit of extra material left over. Some of which I used for the foot box. The rest was good material to practice sewing and hemming with.


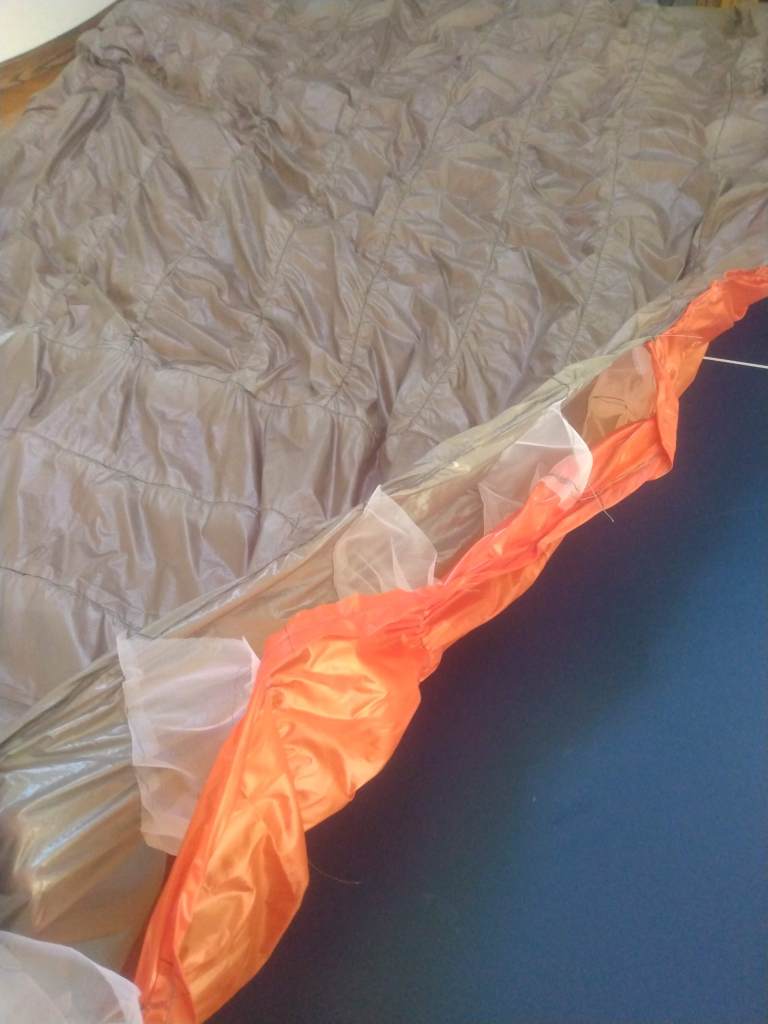
Step 3: Sew on baffles, sew most of quilt shut
This step takes most of the time. I had 15 baffles to sew on, so 30 seams to sew. The first few took a while but then I got quicker as it went on. I started to pre tape the baffles ahead of time which lead to more exact and less stressful stitching. When attaching the inside layer half, I started with the vertical baffles and then sewed on the horizontal baffles at the end.
Step 4: Fill down, sew quilt shut
I had heard horror stories of filling down. It was definitely stressful, but overall it wasn’t too bad. I went inside the shower at my parents house, covered the drain, and got to work. I did some calculations to figure out how much down to put in each baffle and then filled a paper towel roll with the correct amount of down. I used a broom handle to push the down out of the paper towel roll and into each baffle.

At times it felt like I was inside of a snow globe with down going everywhere, but luckily very little got out of the shower. This step including setup and clean up took about an hour and a half. Then I sewed the quilt up and shook it to fluff the down.


Step 5: Cinch cord, foot box, triangle
At this point, the quilt is pretty much complete. I sewed in a cinch cord on the top. Then I closed the foot box, by sewing the bottom two edges together. I made a 10″ by 10″ or so square and stuffed and sewed that on the bottom to complete the foot box. Finally I added a triangle where the foot box ends, in order to protect the seem from too much pressure.


Mistakes/what I will change next time
When I started sewing the baffles, two separate times the quilt got sucked into the machine inadvertently and I had to seem rip about a foot of thread which was very tedious. This mistake could probably be easily avoided by a sewer with more experience.
All of my dimensions shrunk a little bit, which is to be expected, but I think I perhaps let the fabric bunch up a little bit in a few places. This is most noticeable in the foot box, where I ended up with a bit smaller foot box then I would have liked. If you are a beginner sewer like me, I’d recommend building some slack into your dimensions.
Overall it was a great project for a beginner sewer like myself and I learned a lot!
Inspiration/helpful resources
Talking to my friends Zach and John whom I met on the PCT in 2018 who both made their own quilts and gave me advice on materials
A few other posts/videos from the internet:
https://www.reddit.com/r/myog/comments/13x3si1/first_down_backpacking_quilt/
Don’t have excel so I didn’t use this but it looks sweet: https://dubberdesigns.com/downloads/down-quilt-pattern-generator/
